Diablo 4 Boss Fight Guide: How I Finally Beat the Winged Demon Ninsa
Just finished the 'In Desolation's Wake' mission in Act Six, and let me tell you, facing Ninsa was a real wake-up call! Lilith is throwing her toughest demons at us, and this winged terror is a major skill check before the final battles. I went in thinking my build was solid, but Ninsa humbled me quick. This fight isn't just about brute force; it's a masterclass in mechanics, positioning, and target priority. If you're struggling, don't worry—I wiped a few times too, but finally cracked the code. Here's my complete breakdown of how to turn this brutal fight into a valuable learning experience.

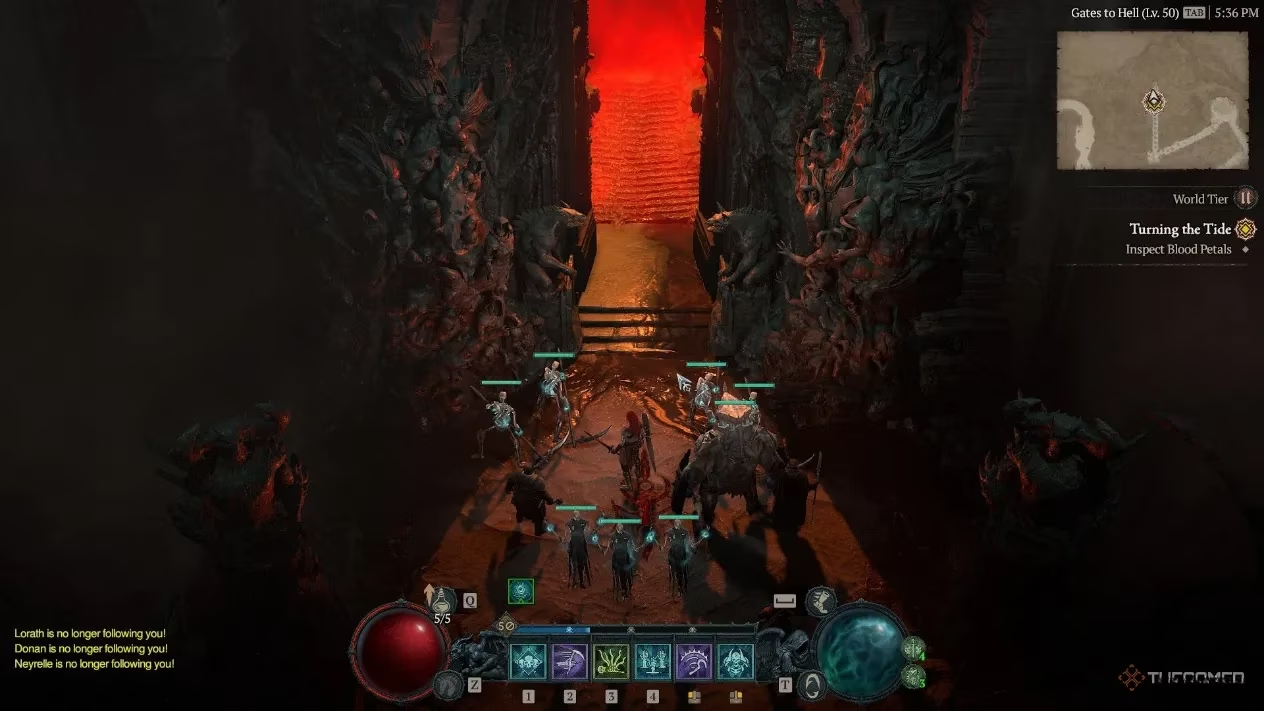
Stage One: Breaking the Barrier & Fire Rain
The first hurdle is immediate and punishing. Ninsa creates a protective barrier, and you can't touch her until it's down. I learned the hard way that whacking the shield does nothing! The key is environmental awareness. Look for the Soul Burner enemies she's linked to with thick, pulsing red lines. They're her power source.
My Stage One Strategy:
-
Ignore Ninsa completely at first. Seriously, don't waste cooldowns on her shield.
-
Priority Target: Hunt down every Soul Burner. They're your only objective.
-
Constant Movement: While you're clearing adds, Ninsa is bombarding the arena with fiery projectiles. Bright red circles will bloom on the ground—dodge immediately. Standing still is a death sentence here.
-
The Payoff: Once the last Soul Burner falls, the barrier shatters with a satisfying crackle. Now you can unleash everything on Ninsa.
This phase taught me a crucial Diablo 4 lesson: Not all damage is good damage. Targeting the right enemy is often more important than dealing the most damage.
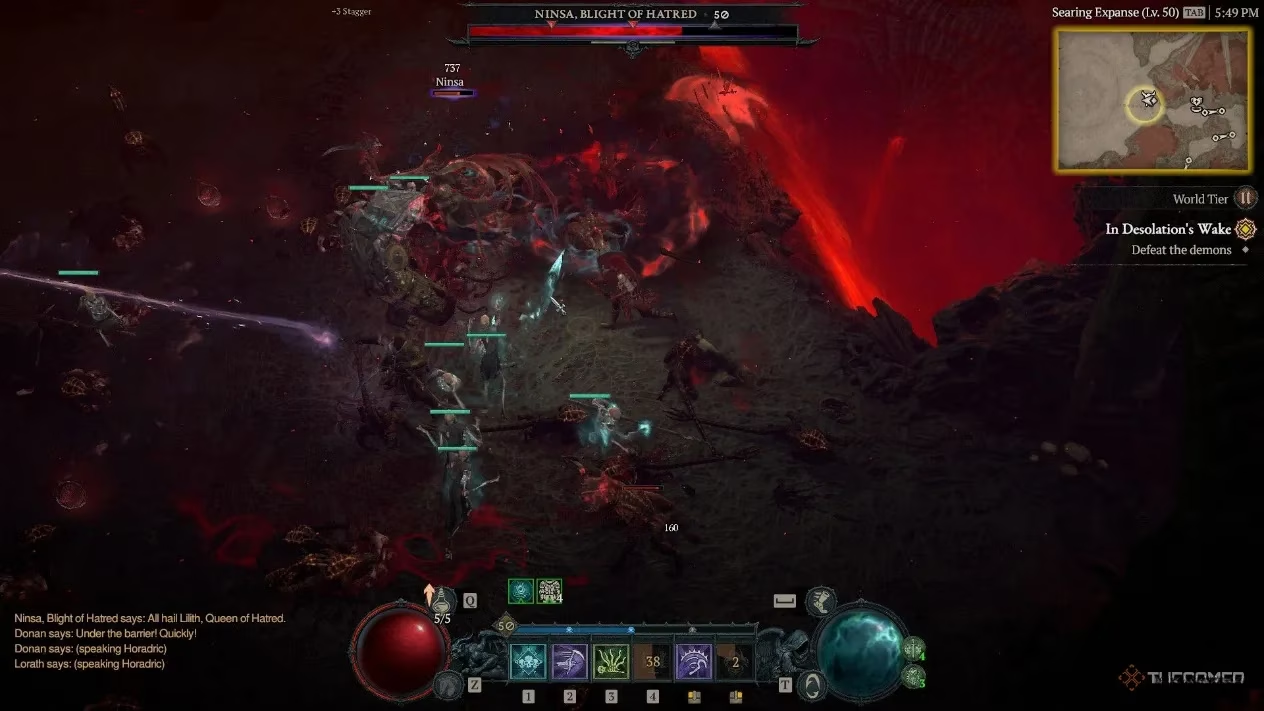
The Transition & Stage Two: Searing Expanse
After you chip her down to about 75% health, Ninsa pulls a classic boss move—she flees! The fight moves to the Searing Expanse. Don't get discouraged; this isn't a reset. Her health pool remains the same, and her core attack patterns (hello, fire rain!) continue.
What Changes in Stage Two:
This is where the fight gets interesting and a bit more forgiving. Your Horadric allies join the fray! 🛡️ They provide occasional protective shields on the battlefield. These are literal lifesavers when Ninsa's aerial bombardment gets too intense.
My Stage Two Game Plan:
-
Use the Shields: When a green, glowing shield appears, run to it. It blocks all of Ninsa's projectile attacks. It's your safe room.
-
Sustain & Burn: This phase is a marathon, not a sprint. Focus on staying alive, using your defensive skills, and dealing consistent damage when it's safe.
-
Cooldown Management: Don't blow all your big damage ultimates at once. Stagger them between her attack cycles for maximum uptime.
Rewards & The Real Victory
Finally taking Ninsa down feels incredible. She drops loot from the standard boss pool—I got two Legendary items and a pile of gold. But honestly? The real reward was the experience.
Why This Fight Matters:
Ninsa isn't just another boss. She's a teacher. The mechanics you learn here—breaking boss mechanics via adds, using environmental shields, managing movement during sustained AoE attacks—are fundamental for the endgame. Facing Lilith and other pinnacle bosses will feel impossible if you haven't internalized these lessons.
My Final Tips for You:
-
😅 Don't Get Greedy: It's better to miss a few seconds of DPS than to die and run back.
-
👀 Watch the Floor: Red circles = bad. Always be circling.
-
🎯 Target Priority is King: Soul Burners > Ninsa > everything else.
-
🛡️ Use the Tools: The Horadric shields are there for a reason. They make the final phase so much smoother.
Beating Ninsa proved my build had some flaws, but more importantly, it sharpened my skills. If you're stuck, re-spec a defensive skill or two, stock up on potions, and go back in. You've got this! This victory is a major stepping stone on the path to confronting Lilith herself. Good luck, and happy demon slaying!